The Photo Exhibition of SAMURAI FOTO 2018
A photo printing seminar of Shigeru Yoshida
SAMURAI写真展 2018セミナー
吉田繁先生によるWacomペンタブを使った
簡単補正セミナーを開催
held on March 4th, 2018 / 2018年3月4日 開催
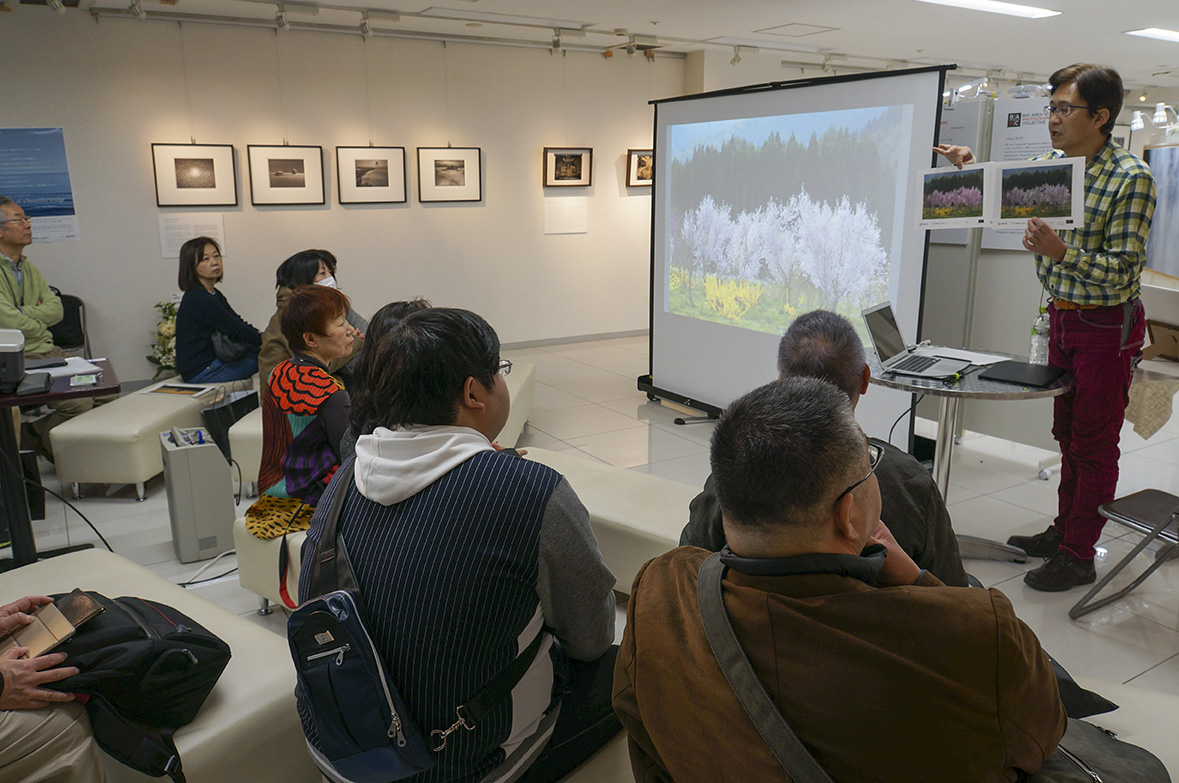
From February 27th to March 4th, SAMURAI FOTO held our 4th Photo Exhibition, “Making a beautiful bridge” at Subway Gallery M in Minatomirai station, Yokohama. There, a photographer, Shigeru Yoshida held a free seminar; Easy Photo Correction. Photoshop Works Wonders With Your Photograph
※For the seminar schedule; Click here
※For the photo Exhibition; Click here
Provided by Wacom Co. Ltd.
2018年2月27~3月4日、横浜・みなとならい駅にある「サブウェイギャラリーM」で開催されたSAMURAI FOTO写真展4th “Making a beautiful bridge”において、写真家・吉田繁氏によるセミナー 『これは簡単。簡単補正で写真が見違える~Photoshopによる補正術』を開催しました。
※セミナースケジュールについては
こちらをご覧ください。
※写真展についてはこちらをご覧ください
協力: 株式会社 ワコム
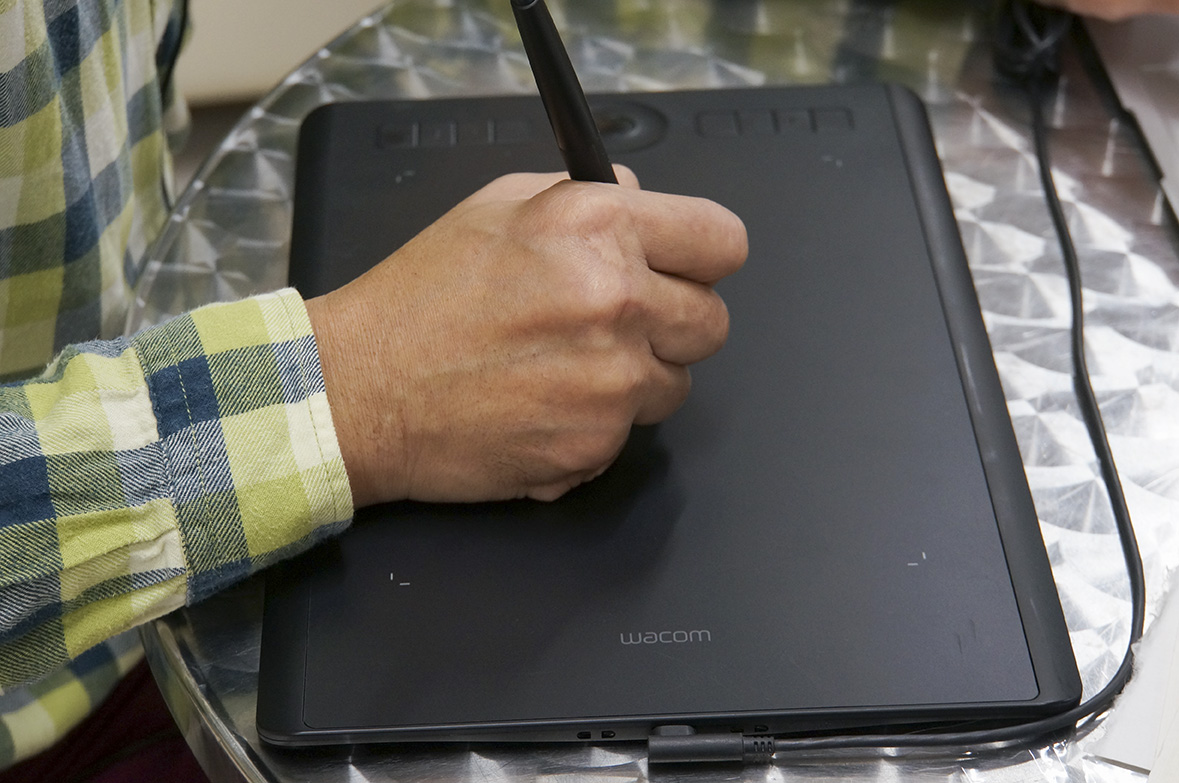
Easy and fast photo correction with WACOM Pen tablet
補正の速さはwacomのペンタブがあってこそ
Yoshida has started taking photographs with digital camera and he also has started using Photoshop to correct his photographs. At the same time, he has started using Wacom Pen tablet ‘Intuos Pro’. Since it is easy and fast to do the correction, he continues to use it.
WACOM’s pen table has a touch pen which detects writing pressure. It’s easier to use than a mouse. It can assign function key to correct your photo. Also, the function keys assignment is available on to the pen tablet, you can correct your photo inevitably and the work efficiency is increased.
筆圧感知してくれるペンはマウスより使いやすいだけでなく、補正のためのショートカットも割り当てできる。また、タブレットにもショートカットが割り当てできるから必然的に補正の効率が上がる。
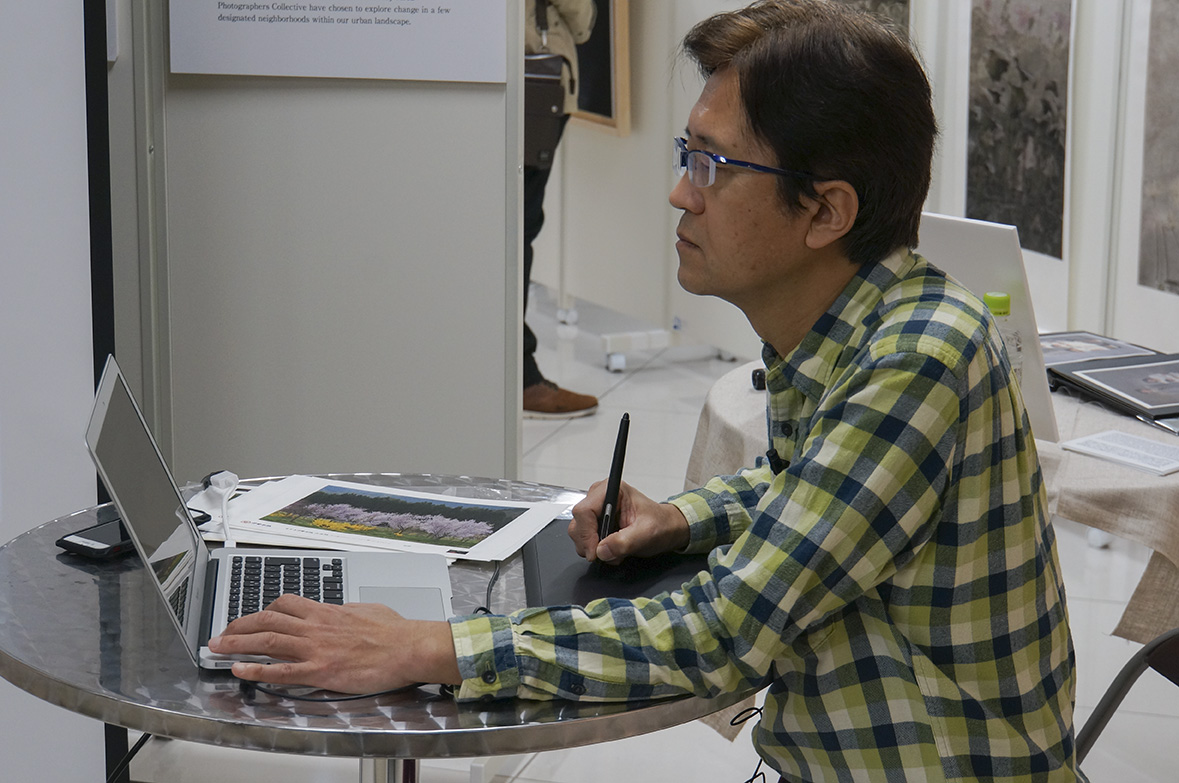
The key to correct your photo well is to clarify the main object of your photograph. First, you see the gradation and tone of the color of your photo, and start correcting the whole your photo and then correcting the details. Yoshida is really good at correcting the photograph speedy and naturally.
補正のコツはまず主題をはっきりさせること。階調と色調を見極めて、全体的に補正してから細部に取りかかるといい。吉田先生は数分という補正の速さと補正したかわからないその自然さで知られている。
You can make your photo perfect for Instagram in 2 minutes.
2分でできるインスタ映えする写真
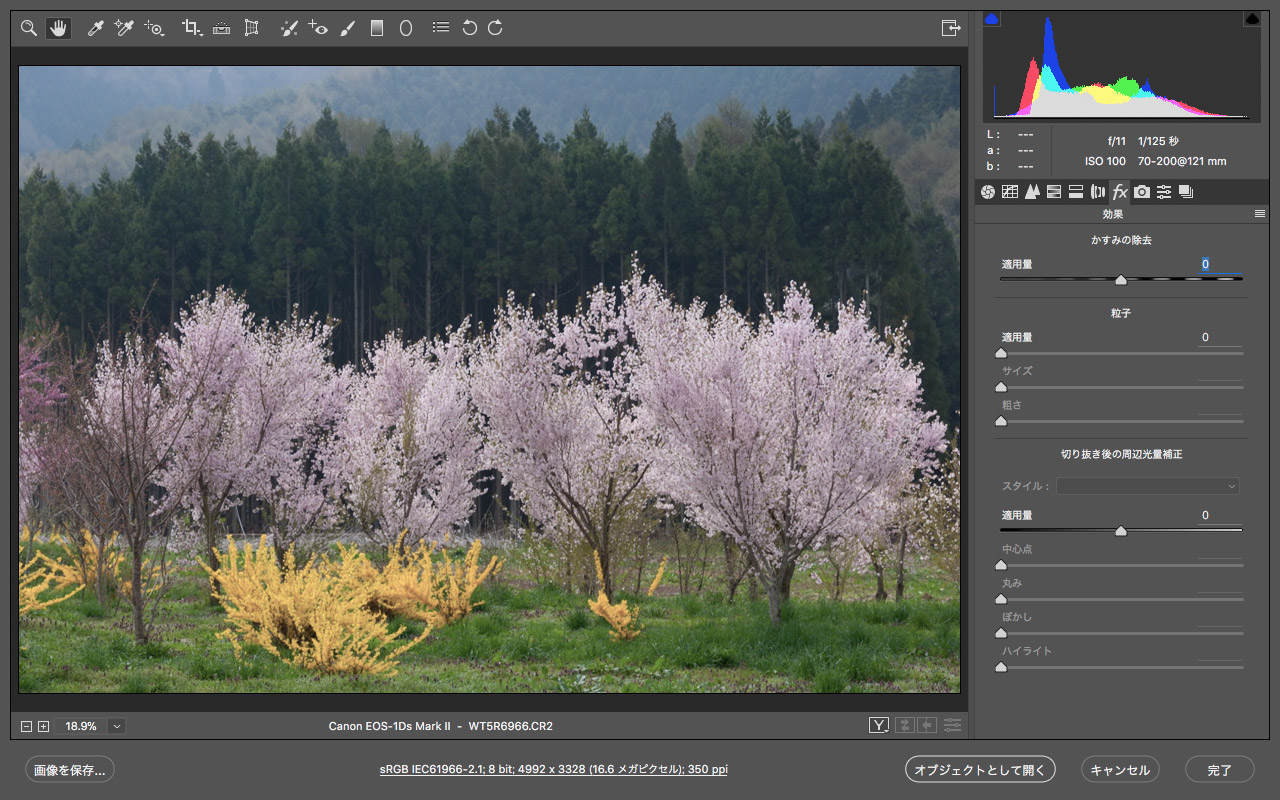
First, you open up Photoshop CC and then open up your image in ‘Camera Raw’, RAW Developing software. The original image will not be deteriorated. If it’s a Jpeg image, click filter and open up Camera Raw in Photoshop.
まずはオリジナル画像を劣化させないようにPhotoshop CCのRAW現像ソフト「Camera Raw」で画像を開く。Jpeg画像の場合にはPhotoshop画面から「フィルター」→「Camera Rawフィルター」を開けばOK。
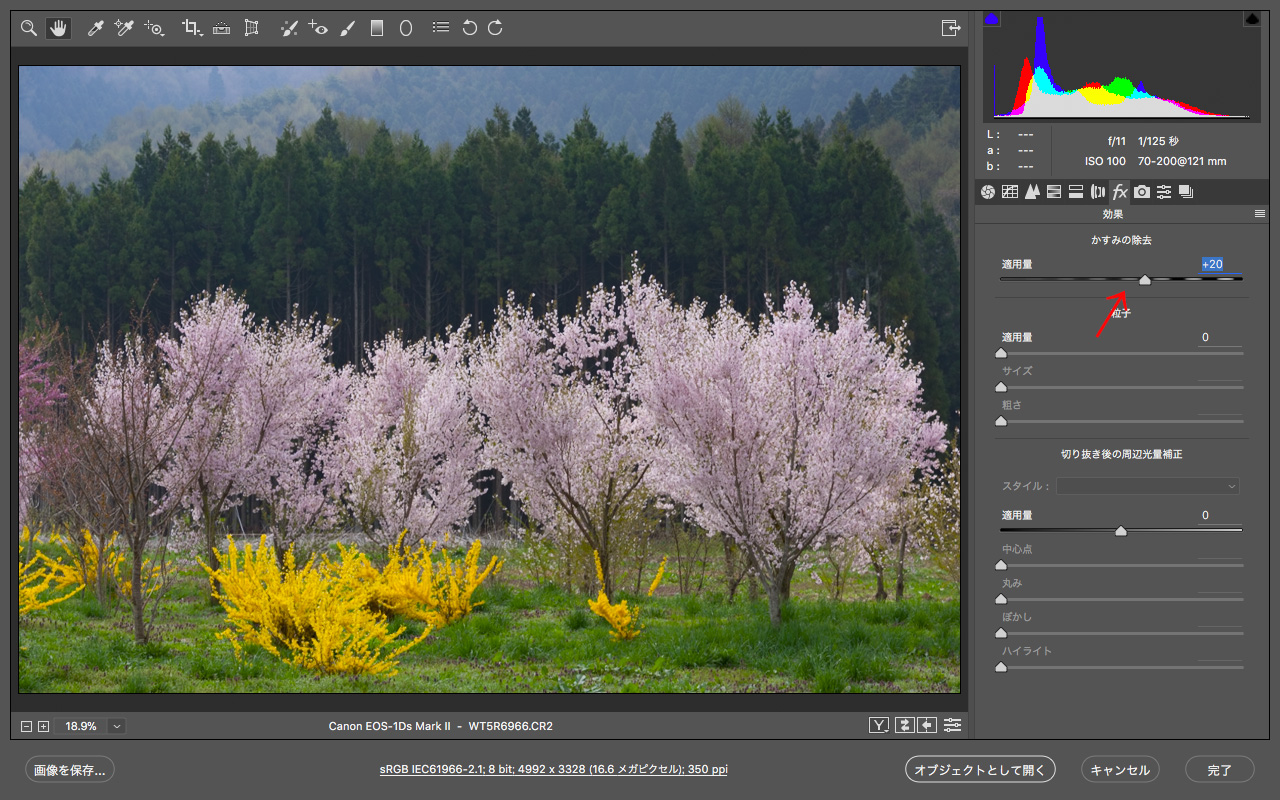
Next, let’s make the color of the spring flowers more vivid. Before that, let me show you how to remove this typical spring misty sky area. Open the Dehaze in Camera Raw. Move the slider to the right, and you can reduce haze in the image.
春の季節に咲く梅や桜などの花色を鮮やかにしていくが、その前にこの時期にありがちな空気の白っぽさを取る。Camera Rawの「かすみの除去」を開いて、スライダーを右に動かしていくと山並みや花の白っぽさが取れる。
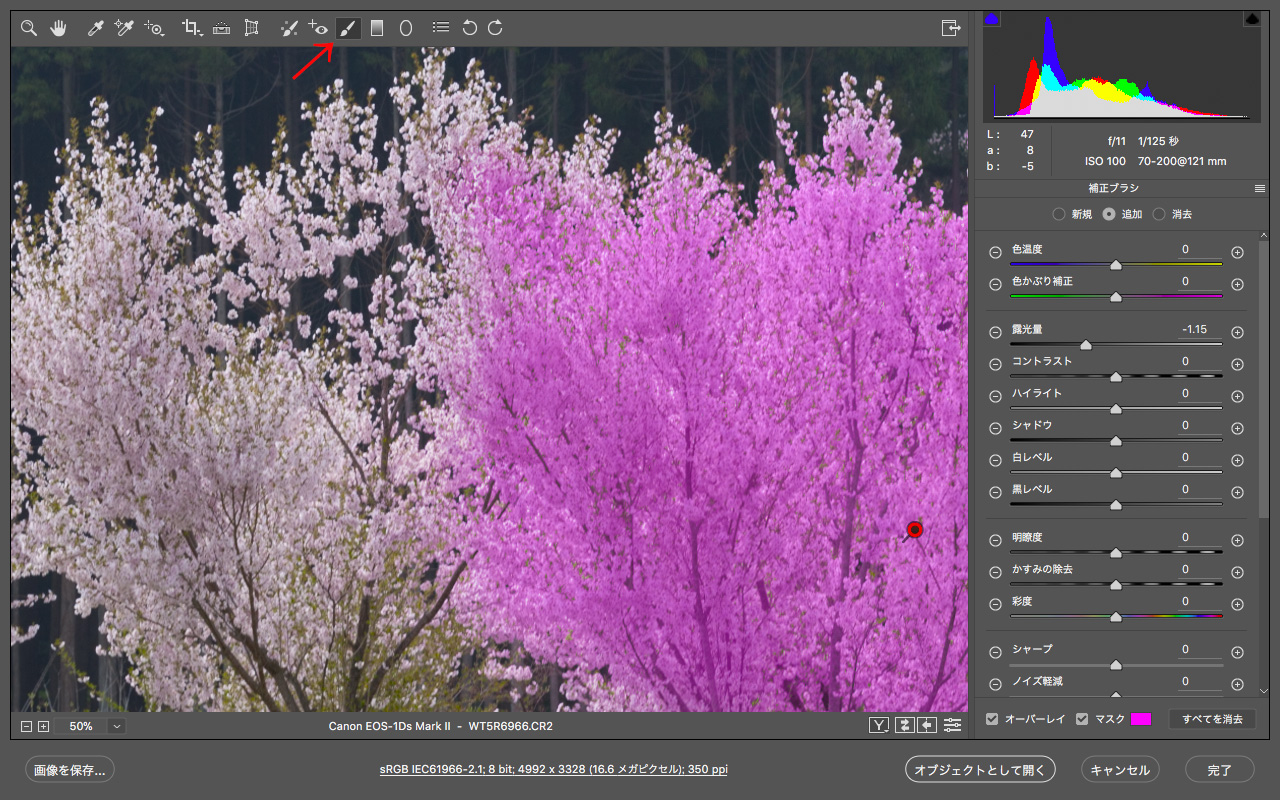
Use the adjustment brush in Camera RAW to adjust the flower part of the photo. Look at the darker area of the photo. You can lighten the color with the adjustment brush. It could speed up your editing if you set the size of the brush to the touch wheel.
Camera RAWの「補正ブラシ」で花の部分を選ぶ。画面上で濃くなっているのが選択された部分。ここを少しだけ鮮やかな好みの色に変える。タッチホイールなどにブラシのサイズの拡大・縮小を割り当てておけば、短時間で済ませられる。
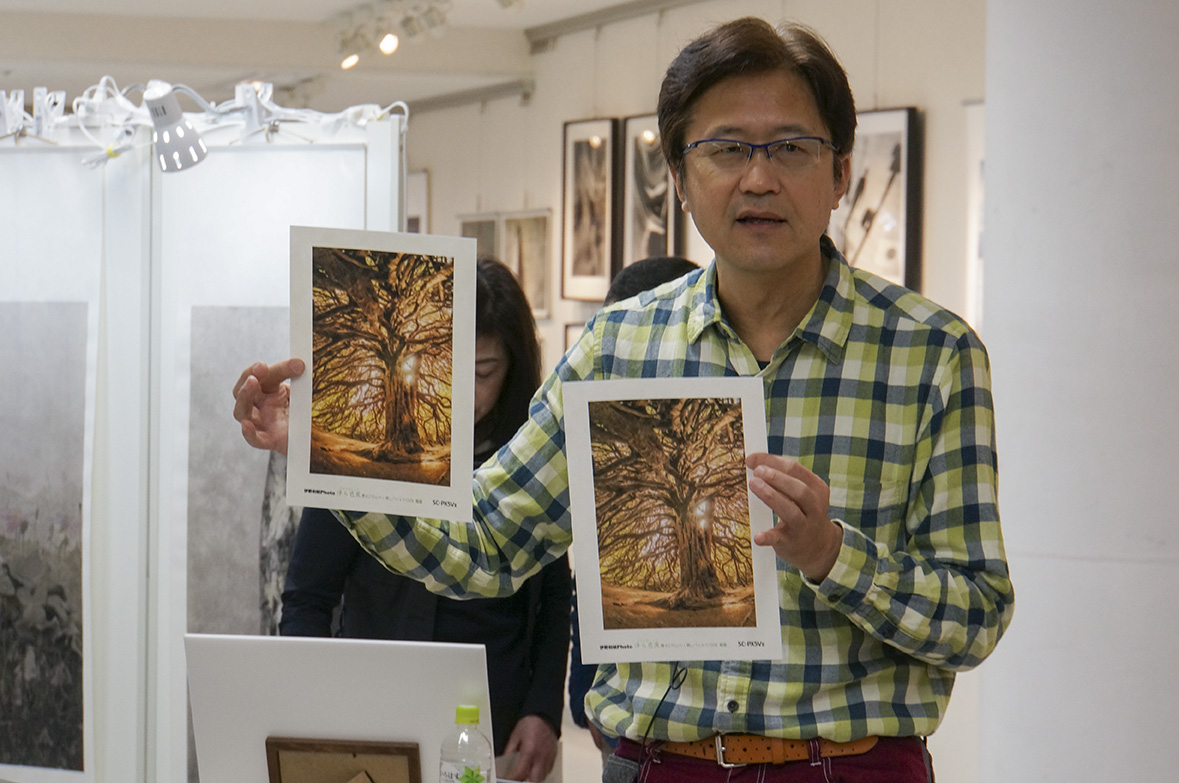
Creating a cool black and white photograph with graininess in Camera Raw
粒状感のあるカッコいいモノクロ写真
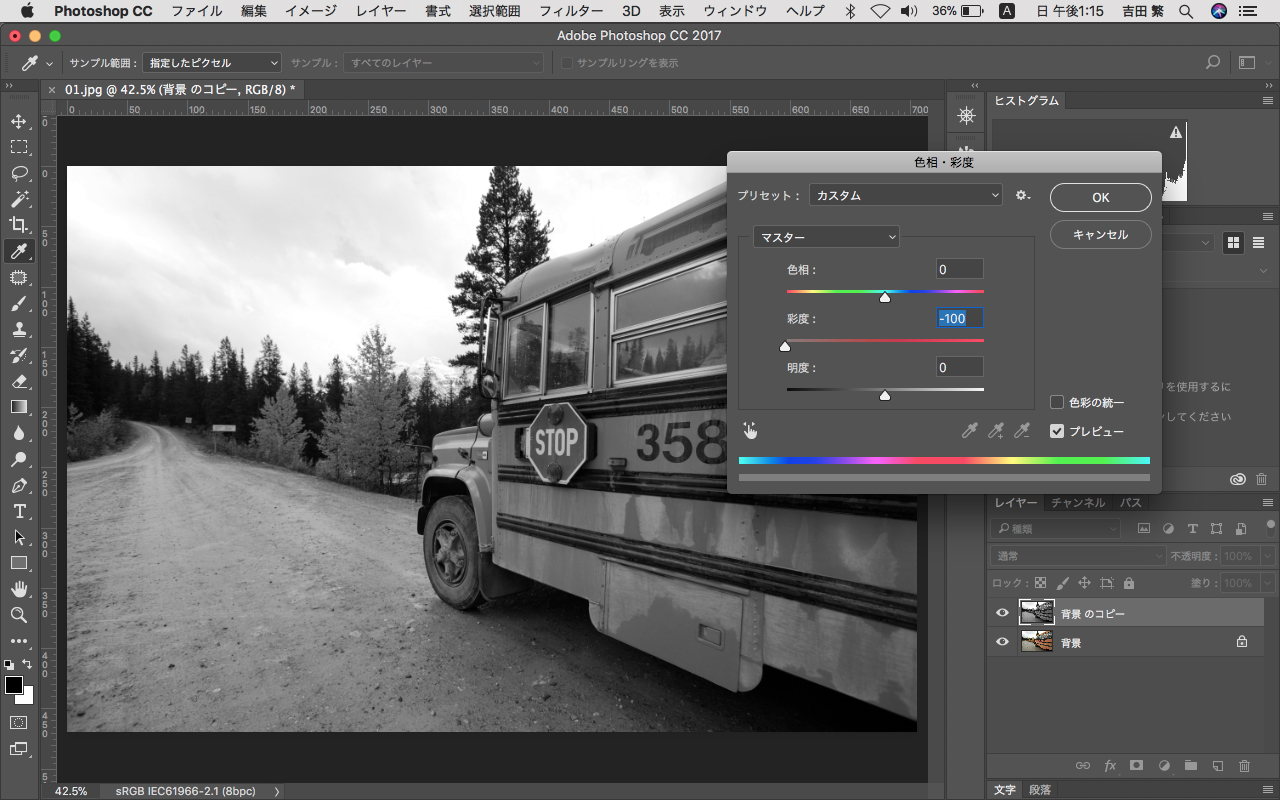
Open the color image in Camera Raw. Copy the Back ground layer. Click the adjustment layer, choose ‘Hue/Saturation’ and move the saturation slider to zero to create a monochrome image.
カラーで撮影した画像をCamera Rawで開いて、「背景コピー」で複製する。それを調整レイヤーの「色相・彩度」で、彩度を0にしてモノクロにする。
Open Photoshop CC. Choose a drawing mode from the upper layer panel and then choose ‘Hard Light’. Combine the color image that you copy and the monochrome image together.
Photoshop CCを開いて、[レイヤー]パネル上部の[レイヤーの描画モードを設定]をクリックし、表示されるメニューから、「ハードライト」を選択。コピーしたカラーとモノクロを統合して一つにする。
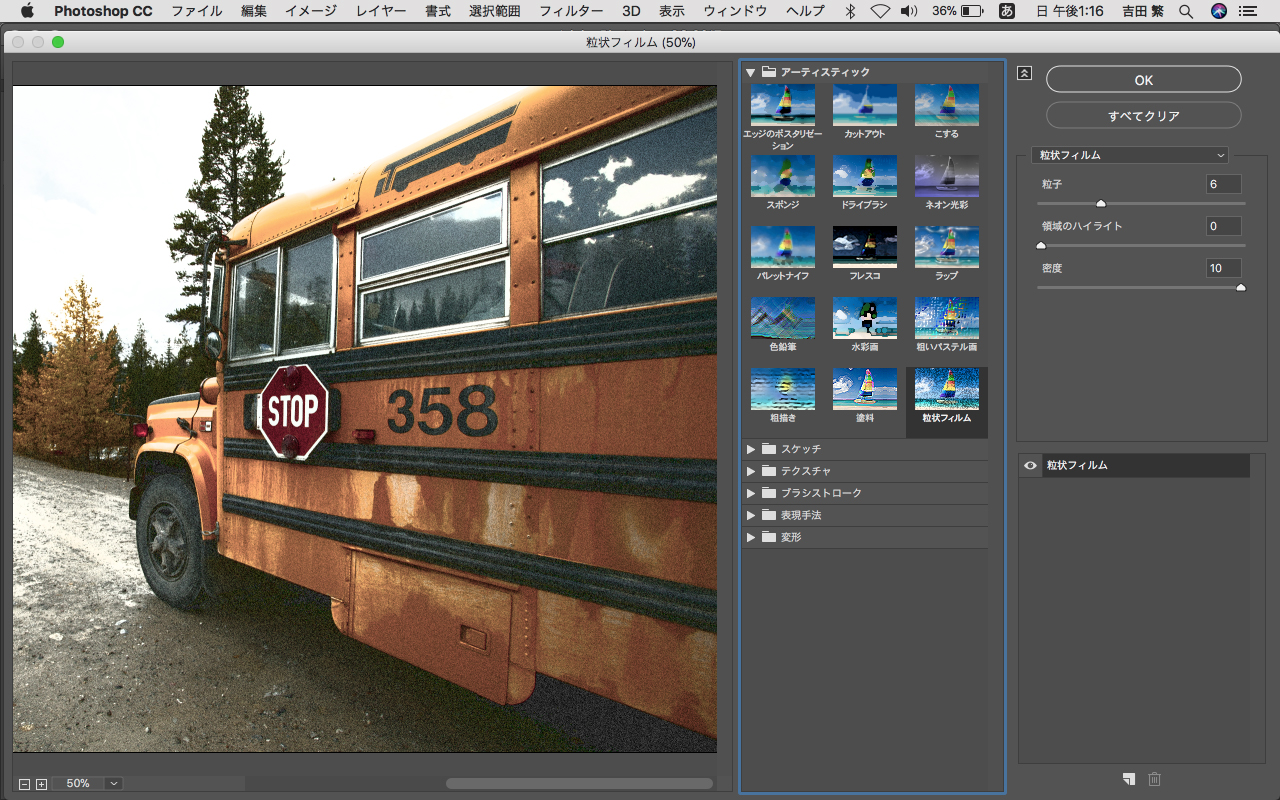
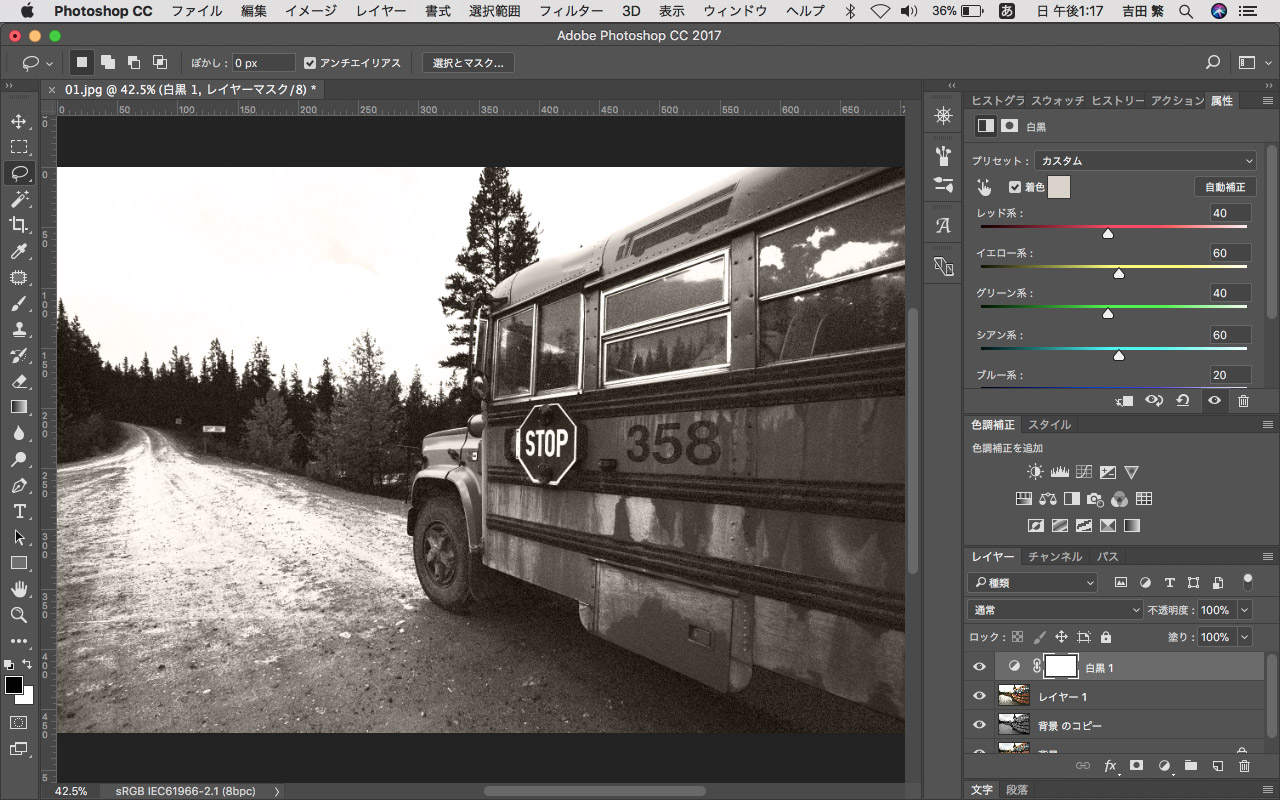
Go to Filter>Filter Gallery>Artistic and select Granularity. Create the image a nostalgic feel one with granularity. Select Black and White in the adjustment layer.
Photoshop CCの「フィルター」→「フィルターギャラリー」→「アーティスティック」の中から「粒状フィルム」を選ぶ。粒状感のあるノスタルジックな写真にし、最後に「調整レイヤー」で「白黒」を選びもモノクロにして仕上がる。
Easy to correct your photo with Intuos
撮影先でも簡単補正で作品を仕上げる
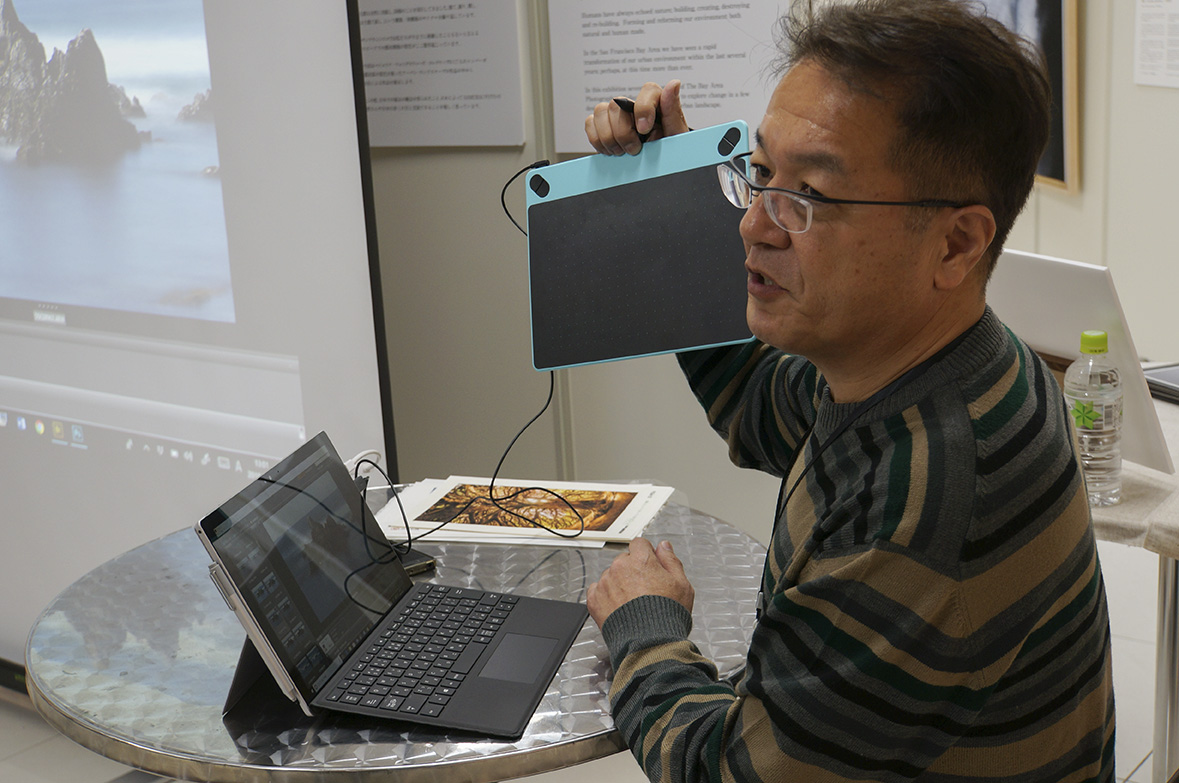
A SAMURAI FOTO member, Hasumi has been using Intuos Pro at home. He got Intuos for using outside. It is small and light. Small size one is 230-250gms and Medium size is 410gms.
SAMURAIの蓮見さんも自宅ではIntuos Proを使い続けてきた。さらに最近では撮影先でも作品を仕上げられるようにとIntuosを購入。Sサイズは230~250g、Mサイズでも410gとコンパクトで軽いのがいい。
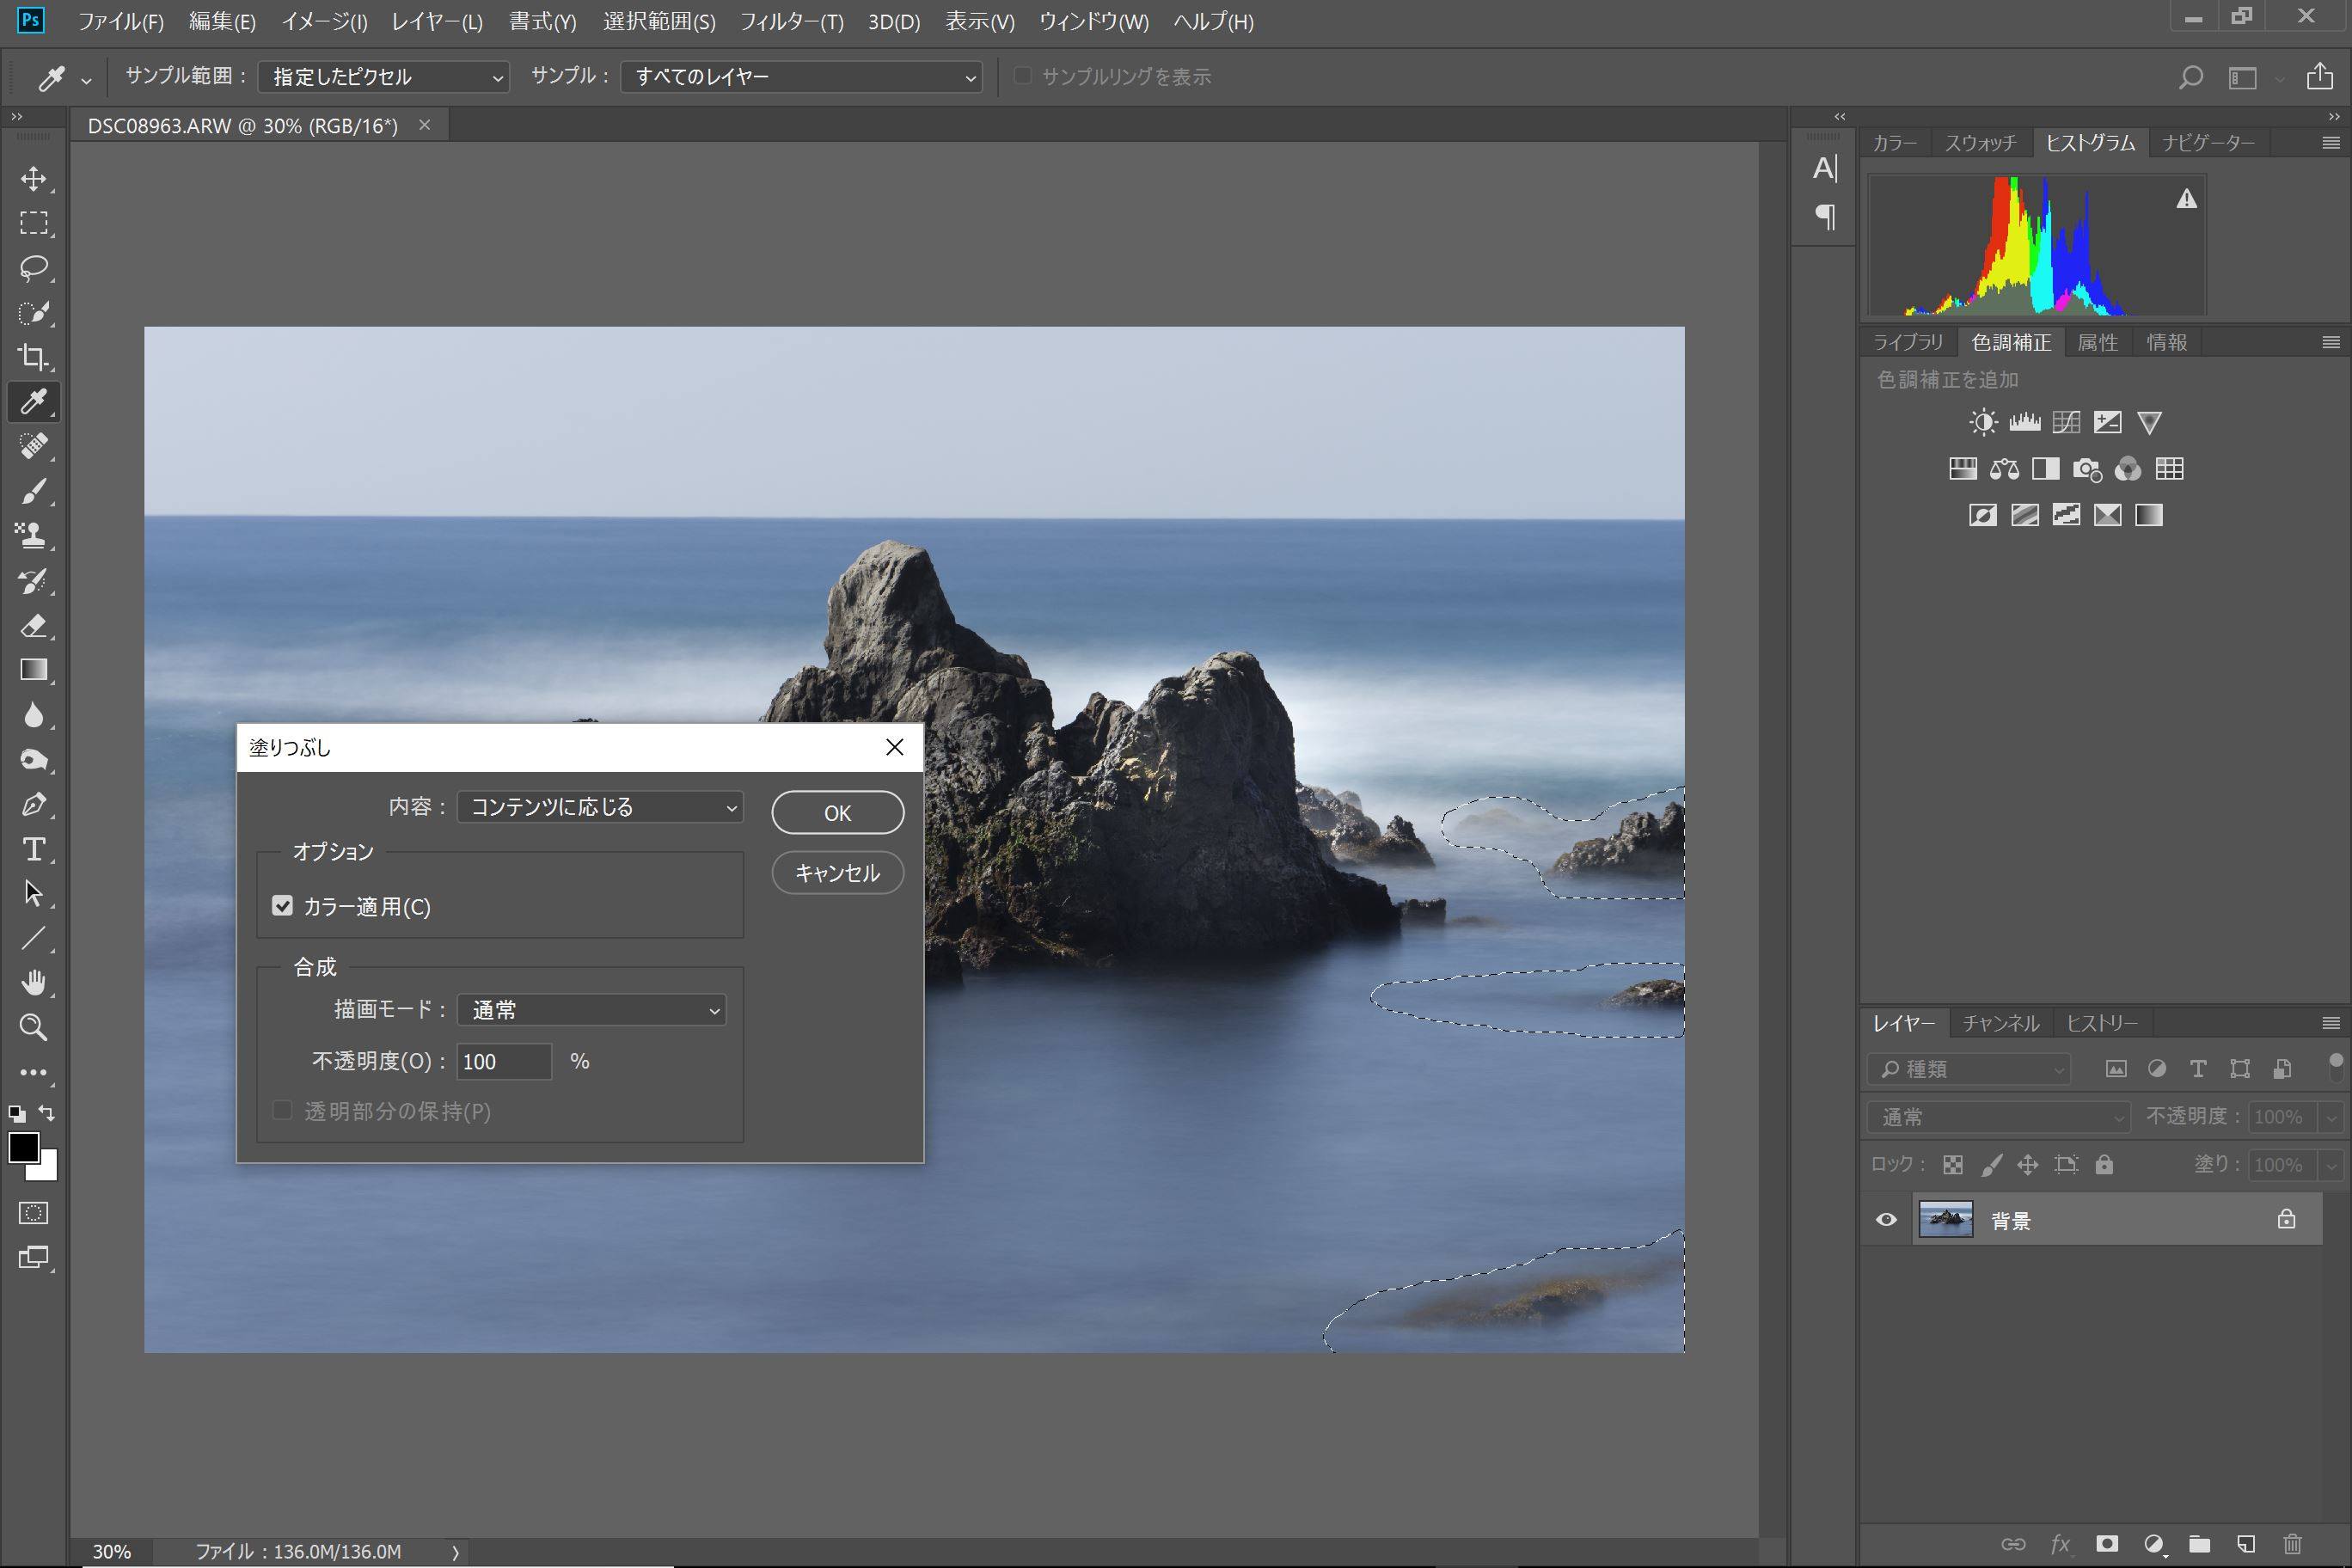
Look at this image. You see some small rocks around the main rock, so let’s erase them. Open the Photoshop CC and select with lasso tool. Select the area that you want to erase.
Edit>Fill>Content aware
撮影画像では主題となる大きな岩の周辺や手前に小さな岩が見えているのでこれらを消す。Photoshop CCの「投げ縄ツール」で消したい部分を選択。「編集」→「塗りつぶし」→「コンテンツに応じる」で消していく。
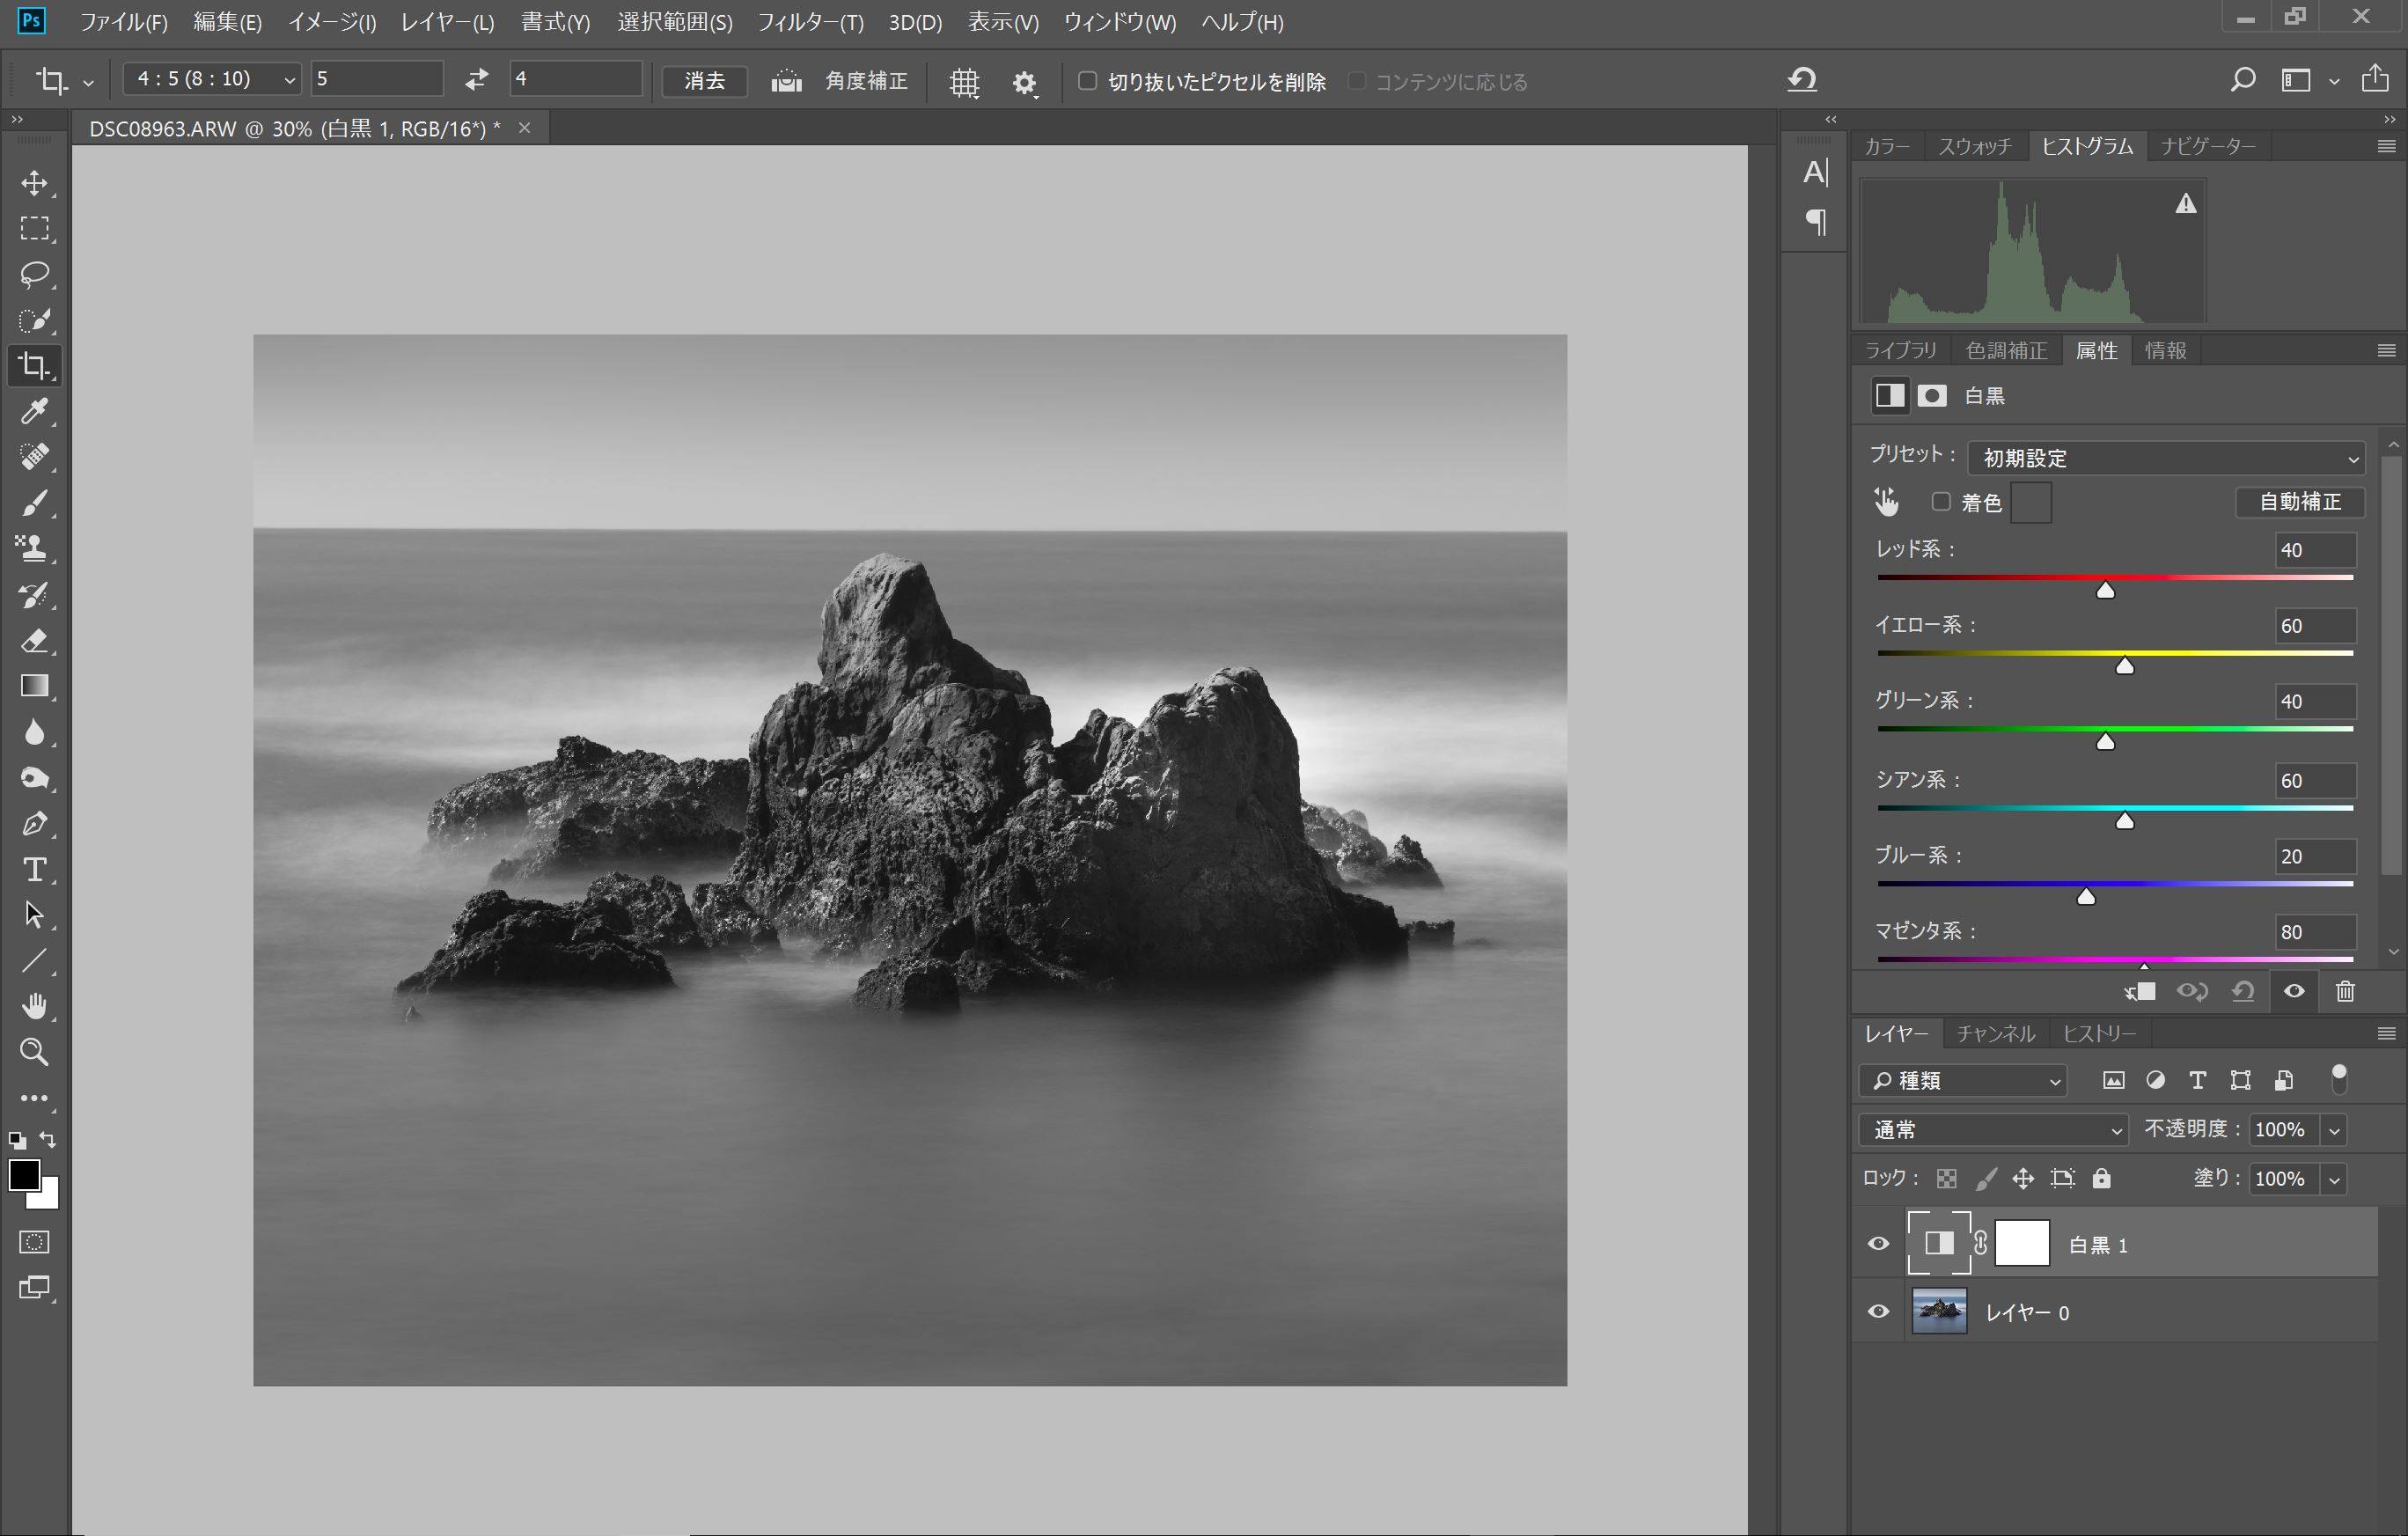
To make the main object stand out, darken the sky area and the front part. Select the Burn tool. Start outlining the area that you want to darken. Pen tablet makes it much easier.
さらに主題となる岩に視線を誘導するように、空の部分と手前の部分の暗くしていく。Photoshop CCの「焼き込みツール」を選択。暗く落としたい部分をなぞっていく。これらの作業もペンタブだからこそ簡単にできる。
You can fix the commemorative photo with Intuos
あっという間の欠席者も入れた記念写真

Even if someone is missing in a commemorative photo, don’t worry. Sasaki tells you how to resolve the problem by using Intuos. Look at these two photos above the monitor. The right one is the final image.
記念写真を撮影するとき、その場にいなかった参加者を入れられなくて残念ということはよくある。佐々木さんはIntuosを使うことでこれを解消できる簡単な補正を教えてくれた。上部右が完成写真。
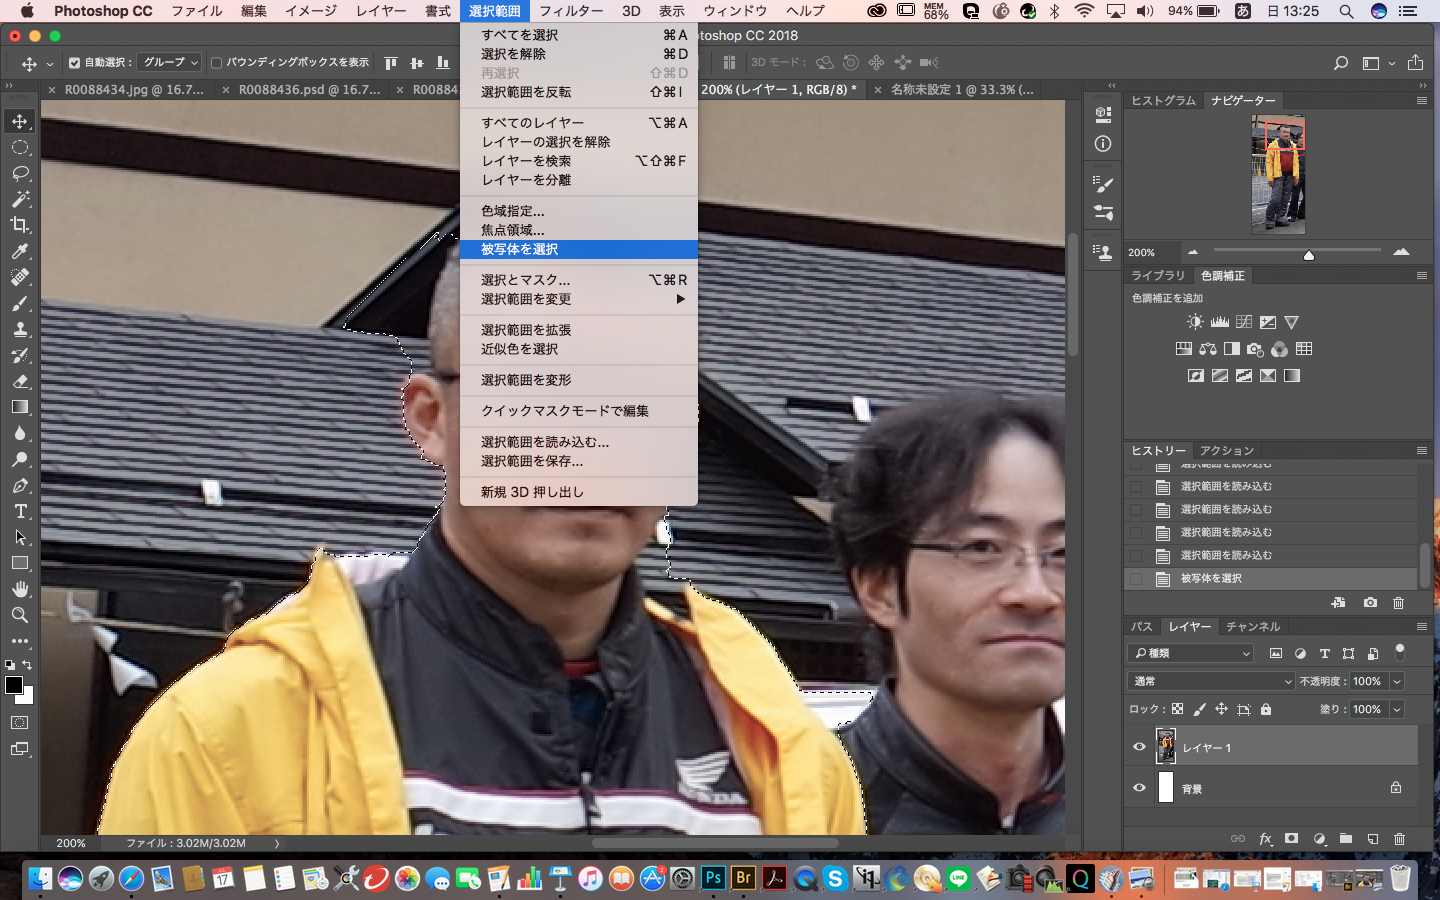
To make this image, cut out the photo of the absentee from another photo.
Photoshop CC fixes the setting automatically.
Photoshop CC>selection>Select object
まず、後から撮影した欠席者の姿だけを切り出す。Photoshop CCの「選択範囲」→「被写体を選択」すると、Photoshop側で大まかな選択をしてくれる。
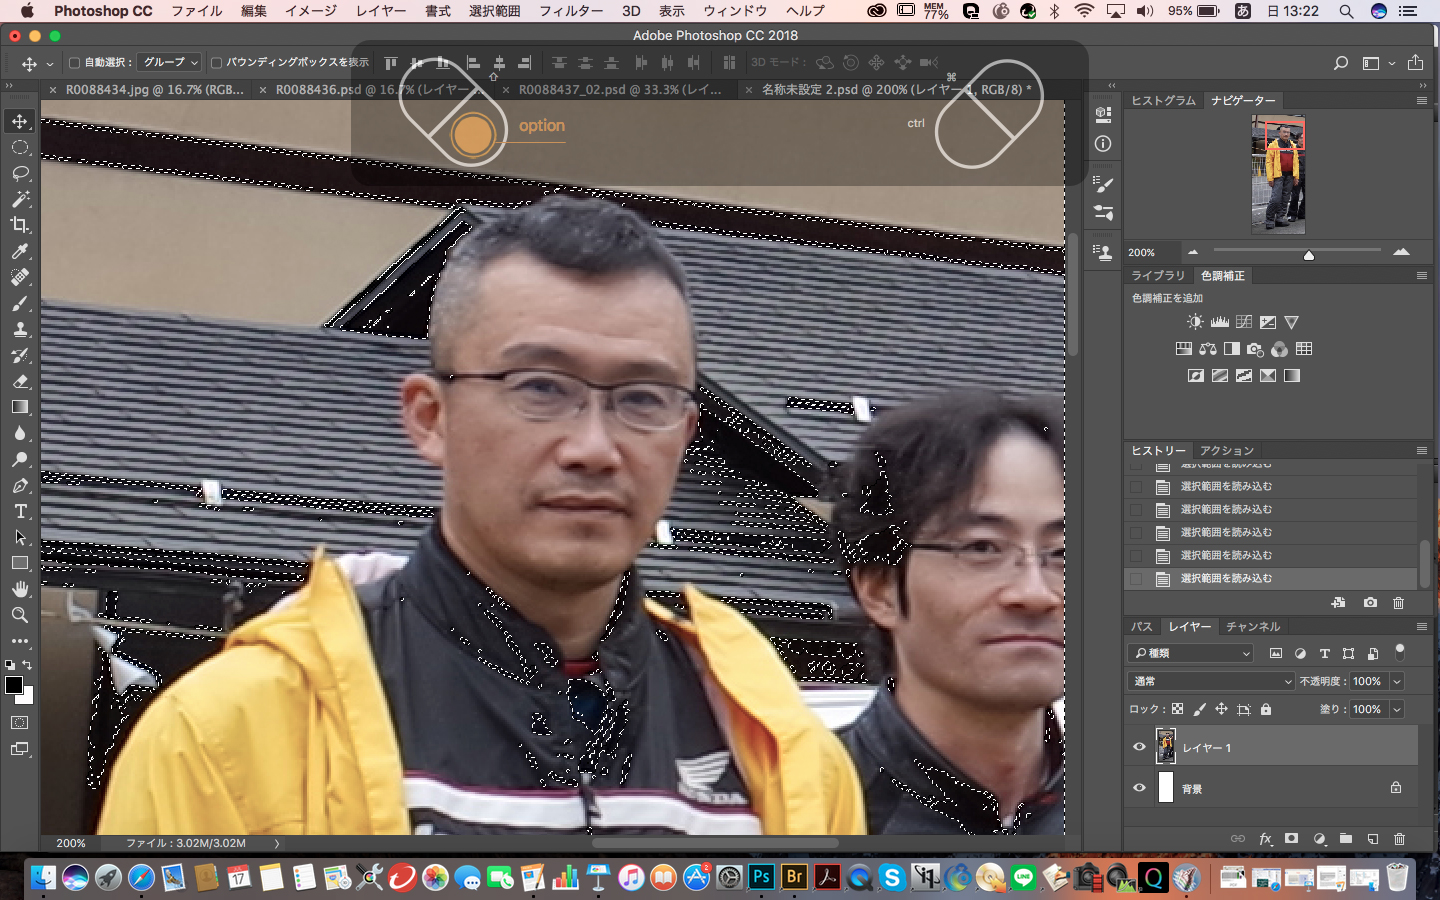
Assign ‘option’ and ‘shift’ key to the function key in the upper part of Intuos. While pushing the key button, you can adjust the selection range finely with the pen. You can do it easier and faster. Then paste the image that you cut out into the commemorative photo.
Intuosの上部にあるエクプレスキーにoptionやshiftキーを割り当てておく。このキーを押しながら、ペンを使って細かく選択範囲の調整していけば、短時間できれいに切り抜ける。それを記念写真に貼り付ければ完成。
Feel free to contact us.
Nothing will make us happier than having visitors share their thoughts.